This guide walks you through adding a Facebook Pixel to your website via the CMS. It covers navigating from Dealer Level to Website Level, accessing Plugins, entering the Facebook Pixel ID, and deploying the changes. The instructions ensure that the Pixel is correctly installed and functional for tracking user activity on the live site.
#Step 1. Navigate to the Correct Level (Dealer Level → Website Level)
Your CMS has two levels of settings:
Dealer Level
Website Level
First, ensure you’re on Dealer Level.
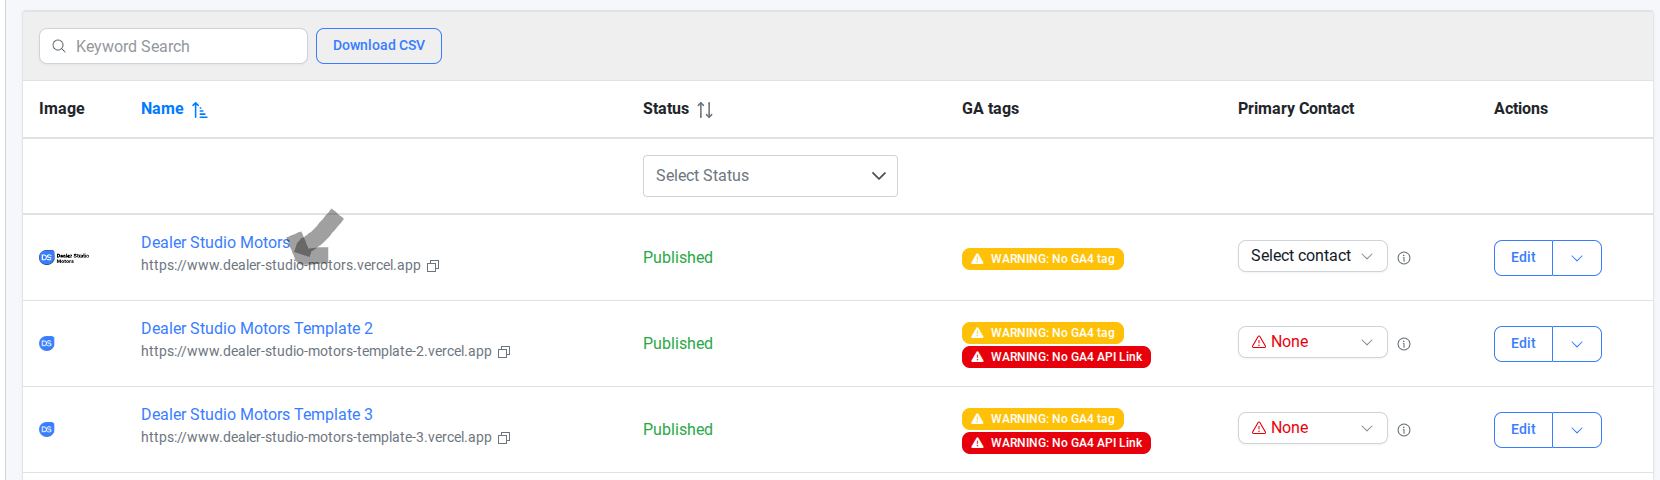
In the left-hand sidebar, go to Websites.
#Step 2. Select the website where you want to add the Meta Pixel— this switches you into the Website Level.
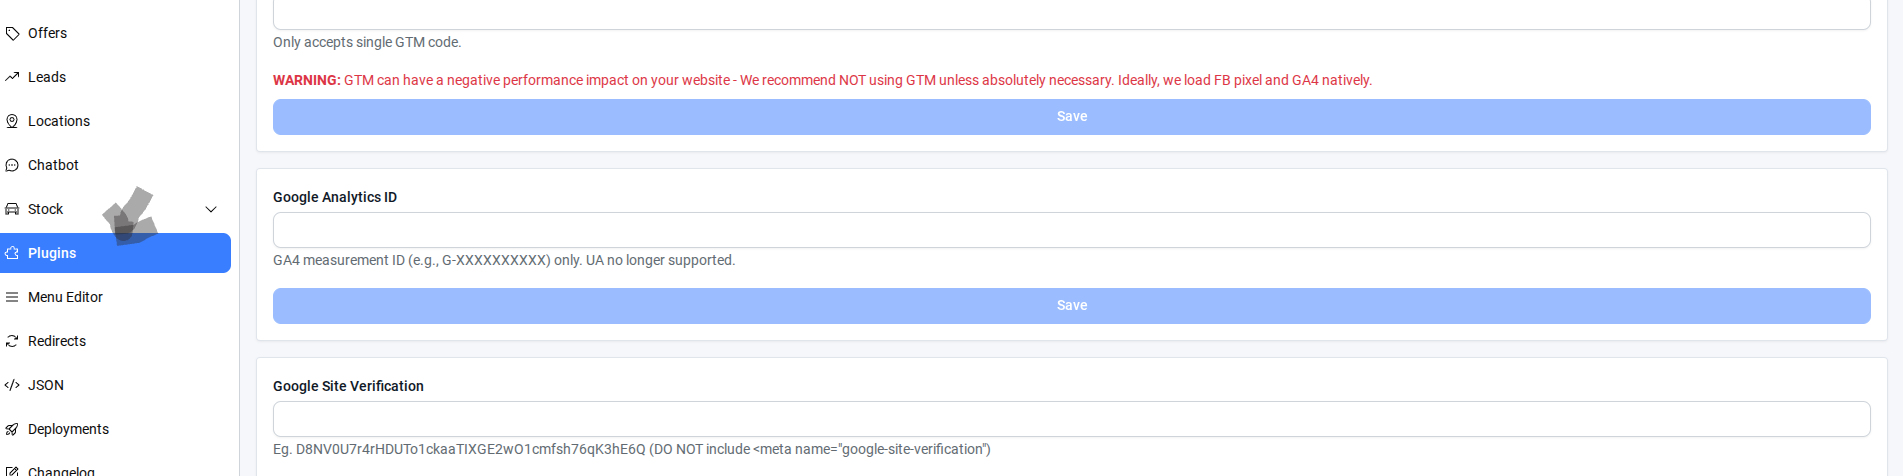
#Step 3. Select Plugins from the left-hand menu at the website level.
#Step 4. In Plugin Settings, paste the script into the Facebook Pixel ID.
Note: Include only 3268634360026488(DO NOT include src=https://www.facebook.com/tr?id=3268634360026488&ev=PageView&noscript=1
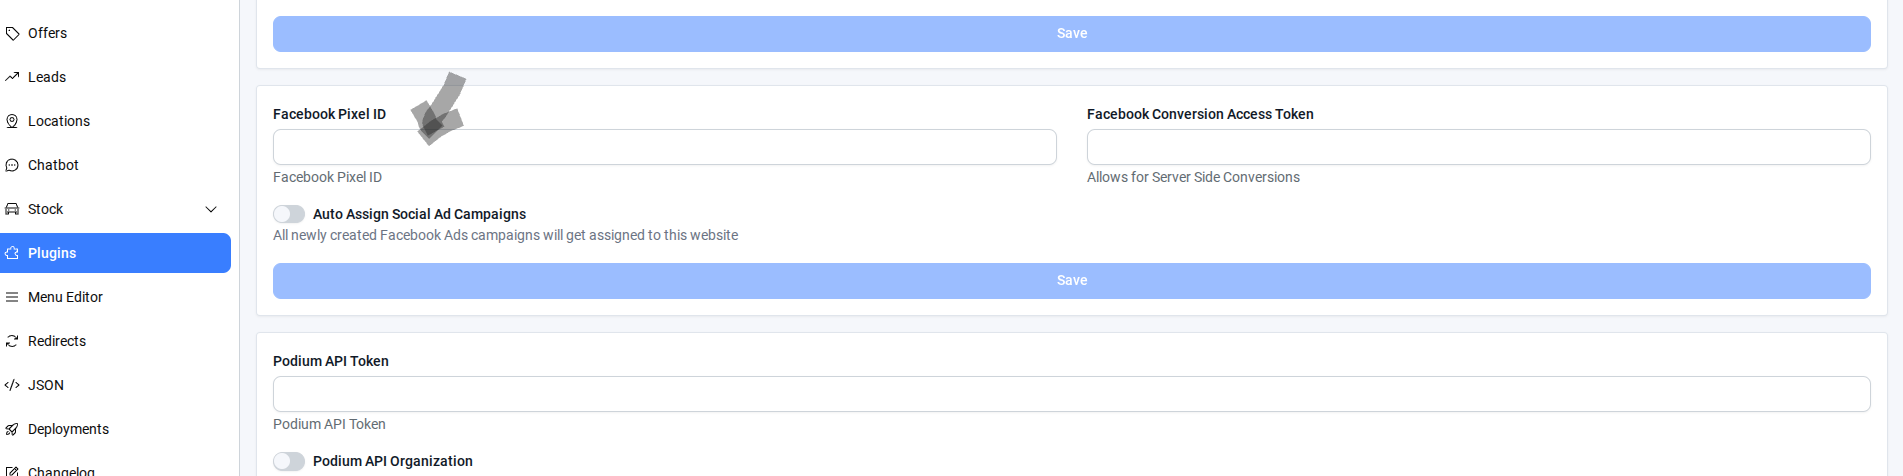
#Step 5. Save the script
#Step 6. Select Deployment from the left-hand menu at the website level.
Rebuild the website.
Check the changes on the live site.
By following these steps, you can successfully integrate the Facebook Pixel into your website, enabling accurate tracking of visitor interactions. Always verify the changes on the live site after deployment to ensure the Pixel is working as expected.
Was this article helpful?
That’s Great!
Thank you for your feedback
Sorry! We couldn't be helpful
Thank you for your feedback
Feedback sent
We appreciate your effort and will try to fix the article