This guide explains how to update the header logo on your website. This is the logo typically displayed in the top-left corner of your homepage.
⚠️ ⚠️ ⚠️ IMPORTANT NOTE:
This guide applies only to Group Sites.
You must not change any brand/manufacturer logos (e.g., Toyota, Mazda, Nissan). These are strictly controlled by manufacturer compliance and must remain untouched.
1. Navigate to the Correct Level (Dealer Level → Website Level)
Your CMS has two levels of settings:
Dealer Level
Website Level
First, ensure you’re on Dealer Level.
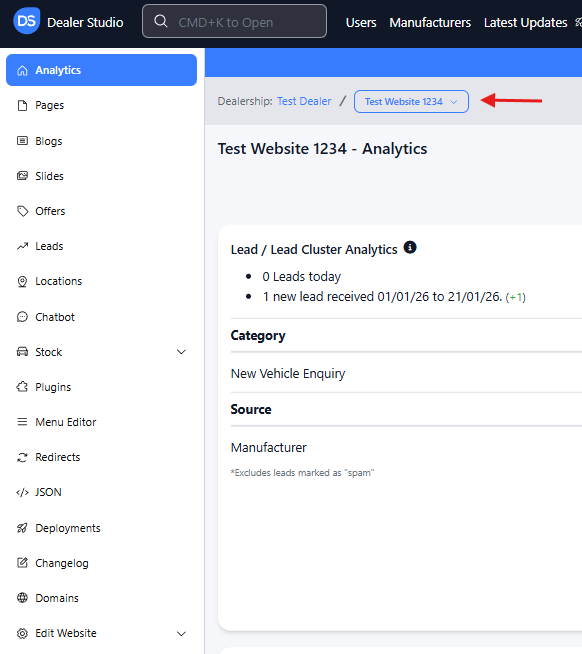
In the left-hand sidebar, go to Websites.
Select the website where you want to change the logo — this switches you into the Website Level.
2. Upload the New Logo
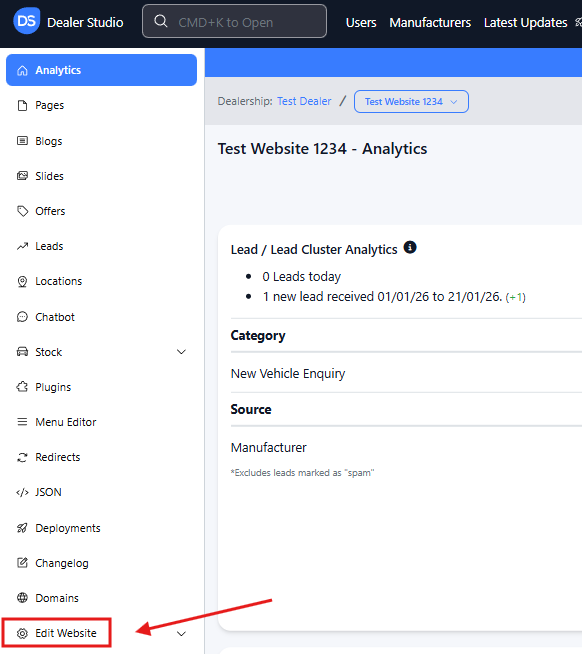
On the Website Level sidebar, click Edit Website.
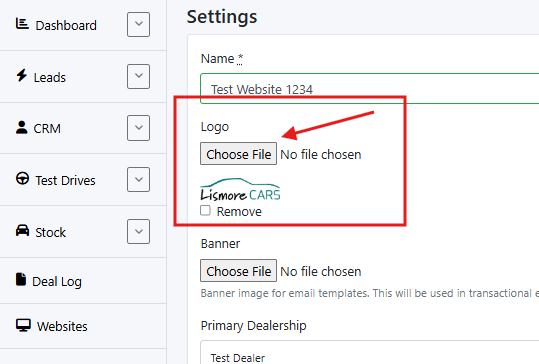
Under Settings, find the field labeled Logo.
Click Choose File and upload your new logo image.
Scroll to the bottom of the page and click Update Website to save.
Your logo is now updated inside the CMS, but not yet live on the website.
3. Rebuild the Website (Required to Make the Logo Live)
Your changes will only appear publicly after a rebuild.
Note: The Edit Website page is a Dealer Level page. You’ll need to return to Website Level to rebuild.
To rebuild:
Go back to Website Level (repeat the navigation steps above).
You should now see the Dashboard Analytics page for that website.
In the top-right corner (beneath your username), click the down arrow beside the Open button.

From the dropdown, select Rebuild.
A rebuild usually takes 15-20 minutes.
4. If the Logo Still Hasn’t Updated
If the website hasn’t updated after 30 minutes, please contact support: support@dealerstudio.com.au
Include the following so the team can assist you quickly:
Website name
Website URL
Screenshot of the issue
That’s it! Your logo should now be successfully updated.
Was this article helpful?
That’s Great!
Thank you for your feedback
Sorry! We couldn't be helpful
Thank you for your feedback
Feedback sent
We appreciate your effort and will try to fix the article