Lead tags allow you to organise, segment, and track your leads more effectively. By tagging leads, you can quickly filter and group contacts based on campaign, status, source, priority, or any custom label your team uses.
Follow the steps below to add a tag to a lead.
Step 1: Open the Lead You Want to Tag
Log in to your dashboard and navigate to Leads from the left-hand sidebar.
Select the lead you wish to tag to open their profile.
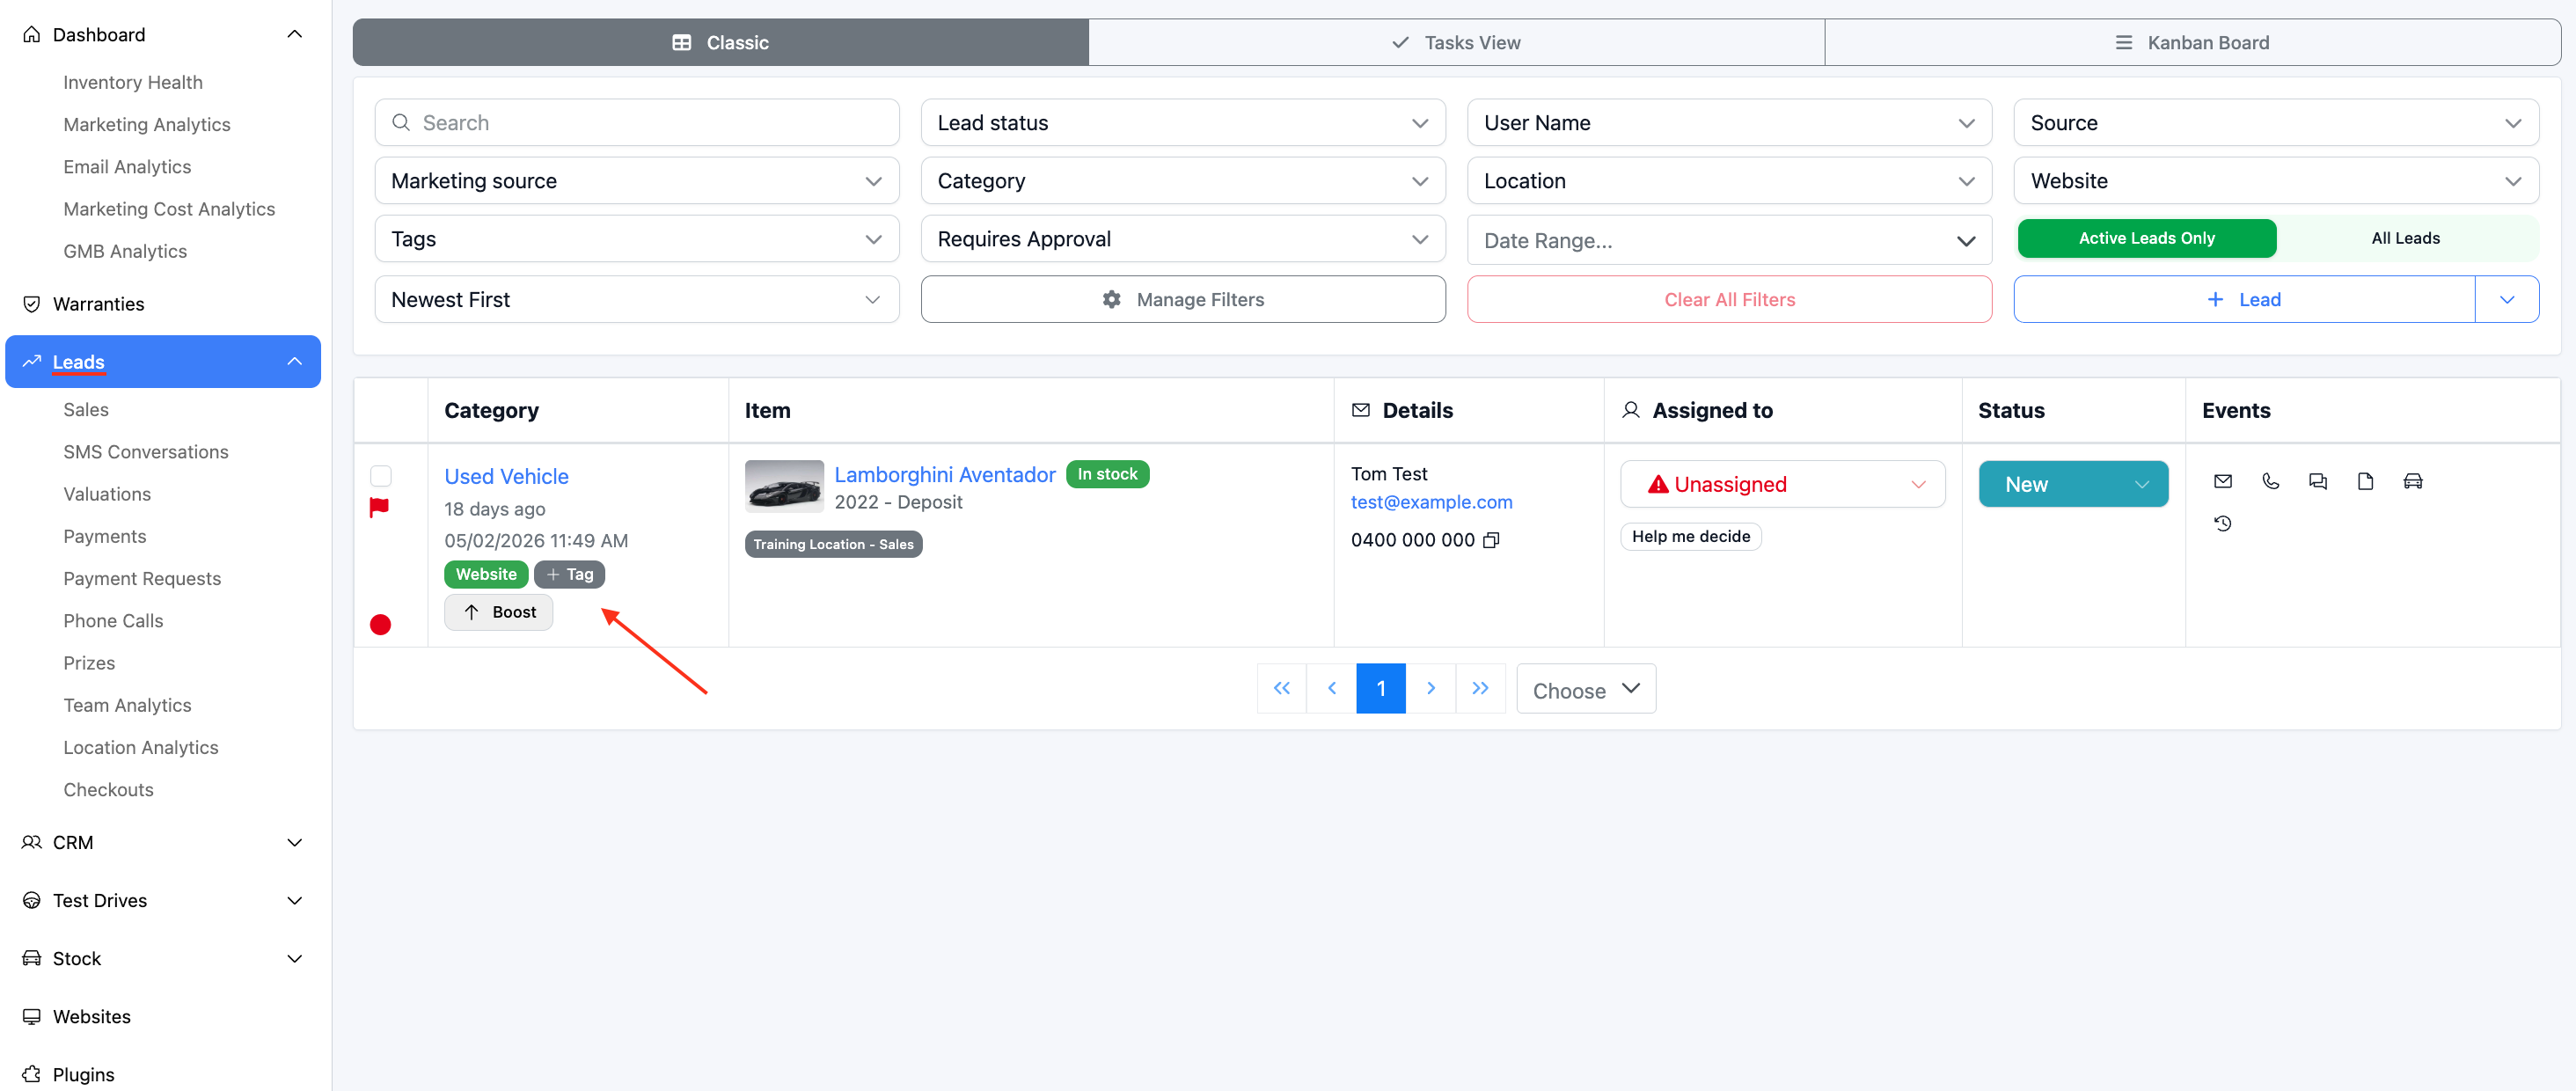
Step 2: Add a Tag to the Lead
Inside the lead profile, click + Tag.
You will then have two options:
Select from previously used tags that appear in the dropdown list.
Type a new tag name.
If you type a new tag that hasn’t been used before, the system will give you the option to Create “your_tag_name”. Select this option to create and apply the new tag.
Once selected, the tag will be attached to the lead.
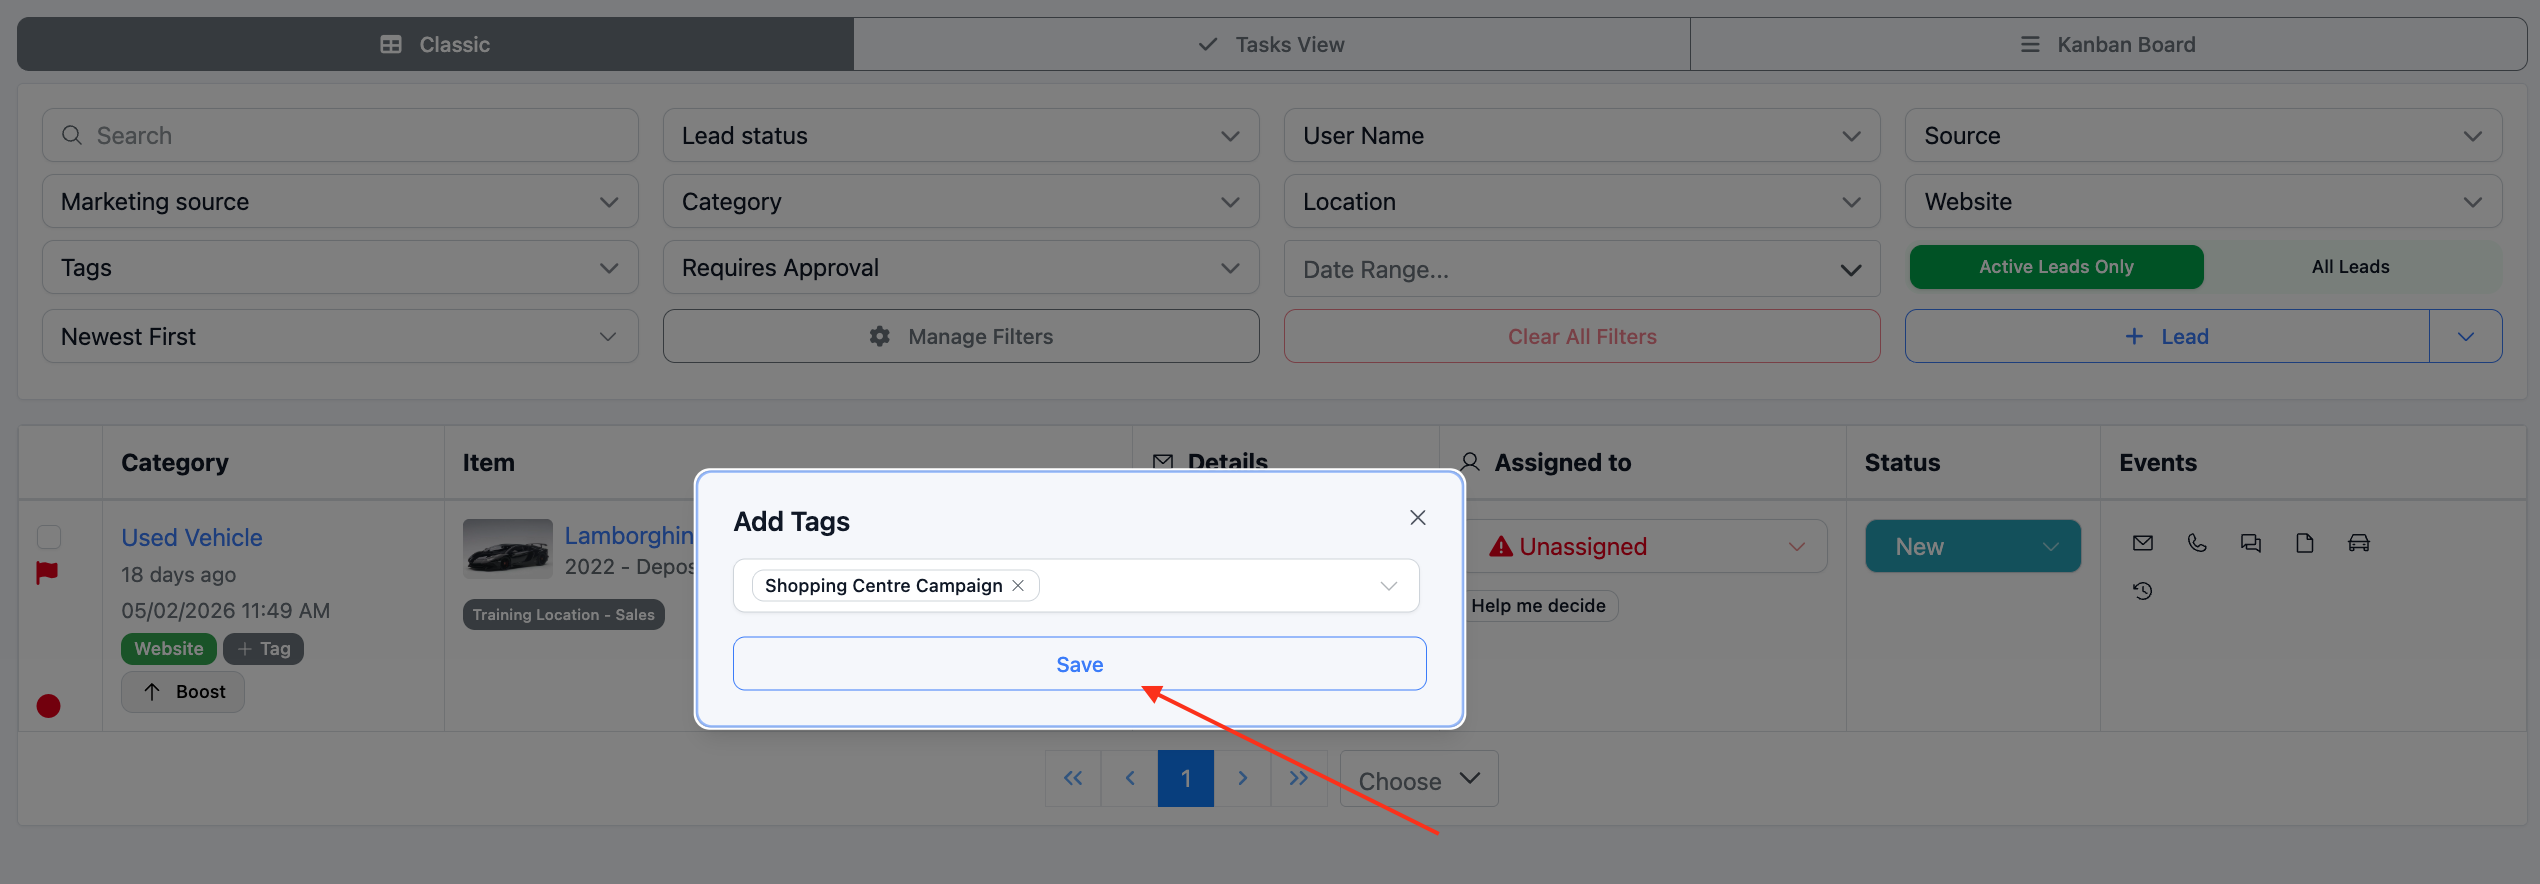
Press Save to apply the tag.
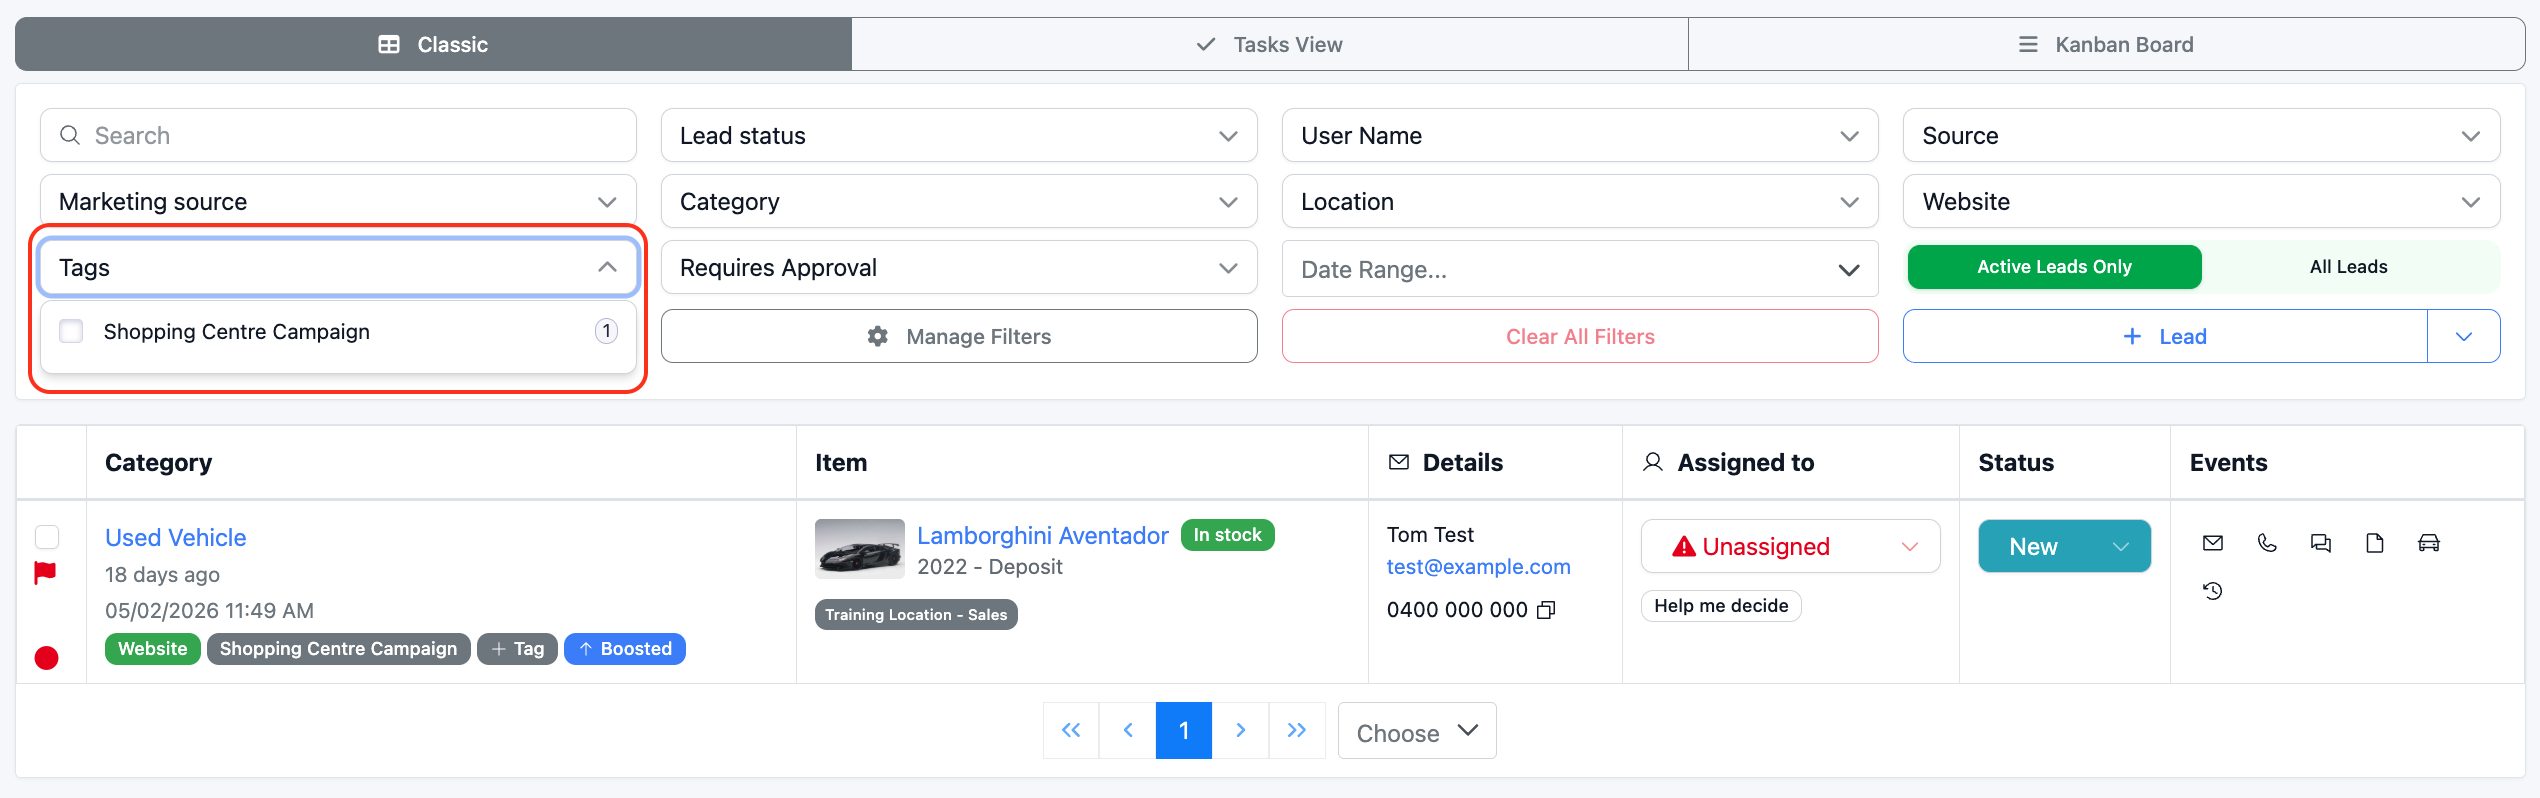
Step 3: Filter Leads by Tag
After a lead has been tagged, you can track and view all leads with that tag.
Go back to the Leads section and use the top filter menu to filter by the relevant tag.
This allows you to quickly segment your leads and manage groups based on your tagging system.
Was this article helpful?
That’s Great!
Thank you for your feedback
Sorry! We couldn't be helpful
Thank you for your feedback
Feedback sent
We appreciate your effort and will try to fix the article