Lead Notifications allow you to instantly alert your team when a new lead is generated in Dealer Studio. You can send notifications to one or multiple team members and filter them to specific enquiry types or bookings (also known as Lead Categories).
Before You Begin
The CMS/Dashboard has two levels:
Dealer Level – where Lead Notifications must be created
Website Level – for website-specific content
Make sure you are on the Dealer Level before setting up notifications.
Step 1: Navigate to Lead Notifications
From the Dealer Level, go to the left-hand sidebar.
Select Settings.
Under Communications, click Notifications.
In the top-right corner, click Add Notification +.

Step 2: Select the Notification Type
You will see a list of available notification types.
For this guide, we will focus on Email notifications—used to send lead alerts to one or multiple email addresses.
Click Email.
A form will appear where you can configure your notification.

Step 3: Fill Out the Notification Form
Below is an explanation of each field and how to configure it.
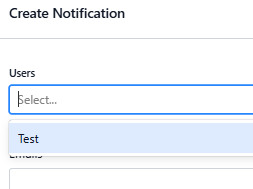
1. Users
Select the user(s) who should receive the lead notification.
Suggestions may appear, but you will usually need to search by name or email.
If a user does not appear in the list:
Ensure they are added in the CMS (refer to Team Dashboard: A Quick Guide)
Or manually type their email in the Emails field (not recommended, as manual emails do not sync with user updates)
2. Emails (Not recommended)
Allows you to manually enter email addresses if needed.
Use only if a recipient cannot be added via the Users field.
3. Lead Categories
Filter which types of leads will trigger this email notification.
Example:
If Adam handles anything related to Service, select:
Service Enquiry
Service Booking
This ensures he only receives notifications relevant to Service-related leads.
4. Website
Choose the website associated with the lead source.
This filters the notification to leads originating from a specific dealership site.
5. Location
Select the dealership location the lead should be pulled from.
Helps ensure notifications are routed accurately if you manage multiple locations.
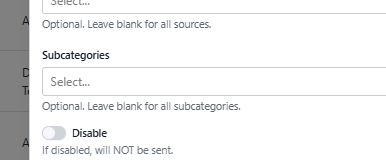
6. Lead Sources
Filter leads by their origin, such as:
Website
Facebook
Phone Call
Third-party integrations
This allows you to tailor who gets notified depending on where the lead comes from.
7. Subcategories (Advanced)
Some lead categories have subcategories.
Example:
Team Member Enquiry → Subcategory: Career Enquiry
This field can be complex and is generally recommended to leave blank unless you have a specific need.
Step 4: Save the Notification
Once all required fields are completed:
Click Save.
Your new Lead Notification will appear in the list/table on the Notifications page.
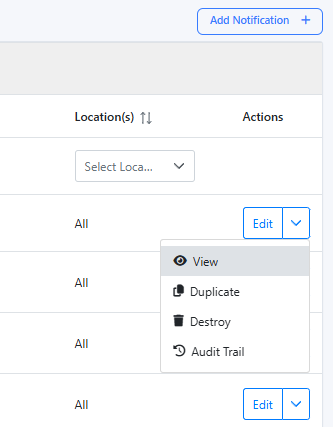
Step 5: Manage or Disable Notifications
For each notification:
Click Edit to update settings.
Toggle Disable to temporarily turn off the notification.
Use Duplicate to clone the notification for another team member or category.
Use Destroy to permanently delete it.
That’s It!
Your Lead Notification is now active and will immediately alert selected recipients whenever a matching lead is generated in Dealer Studio.
Make sure to double-check your filters to ensure the right team members receive the right notifications.
Good luck, and happy notifying!
Was this article helpful?
That’s Great!
Thank you for your feedback
Sorry! We couldn't be helpful
Thank you for your feedback
Feedback sent
We appreciate your effort and will try to fix the article