This article will take you through how to set up and edit your Toyota Complaints page correctly and within Complaince.
Instructions to Sign Into Dealer Studio
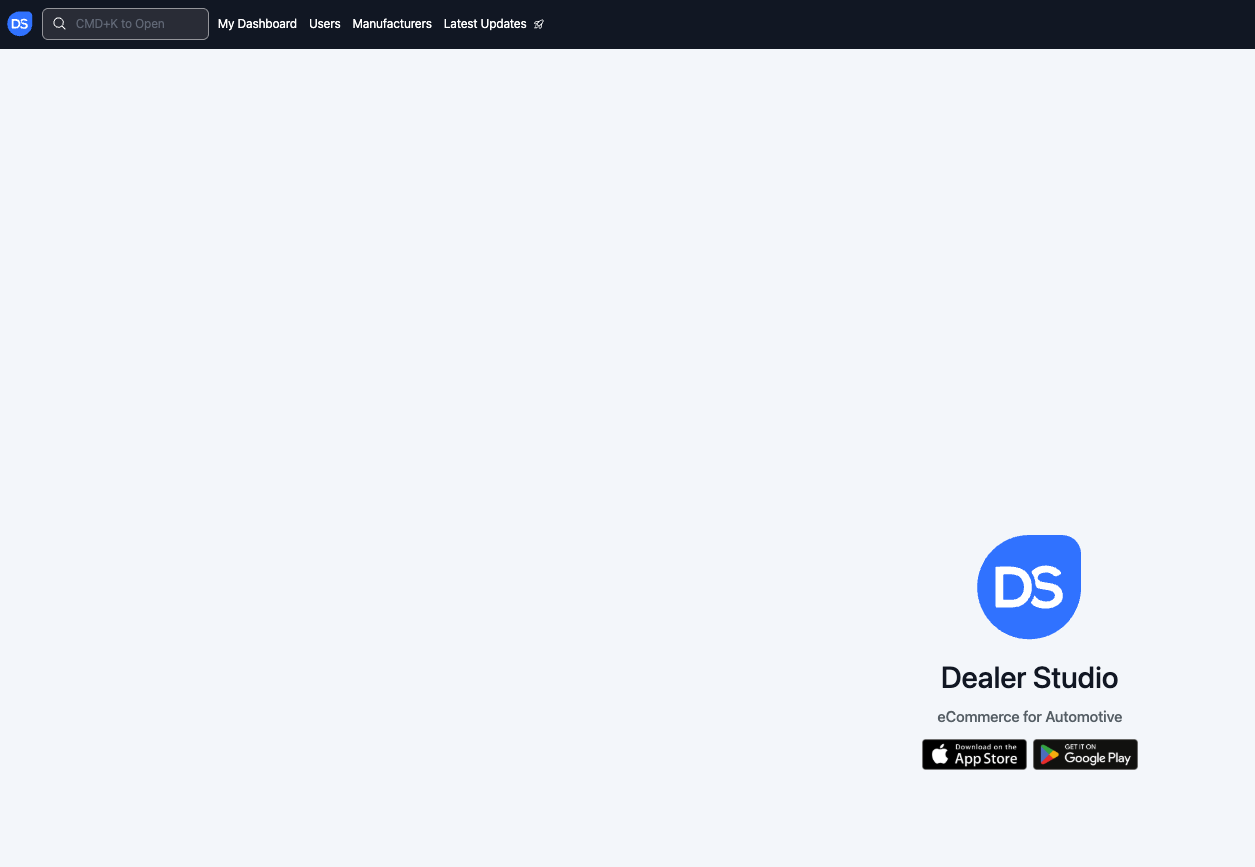
Step 1: Login to Dealerstudio
Step 2: Navigate to your Dealership
- It is faster to go to your Toyota Website
Step 3: From the website editor, select Pages. This contains all editable pages that have been migrated to your website.
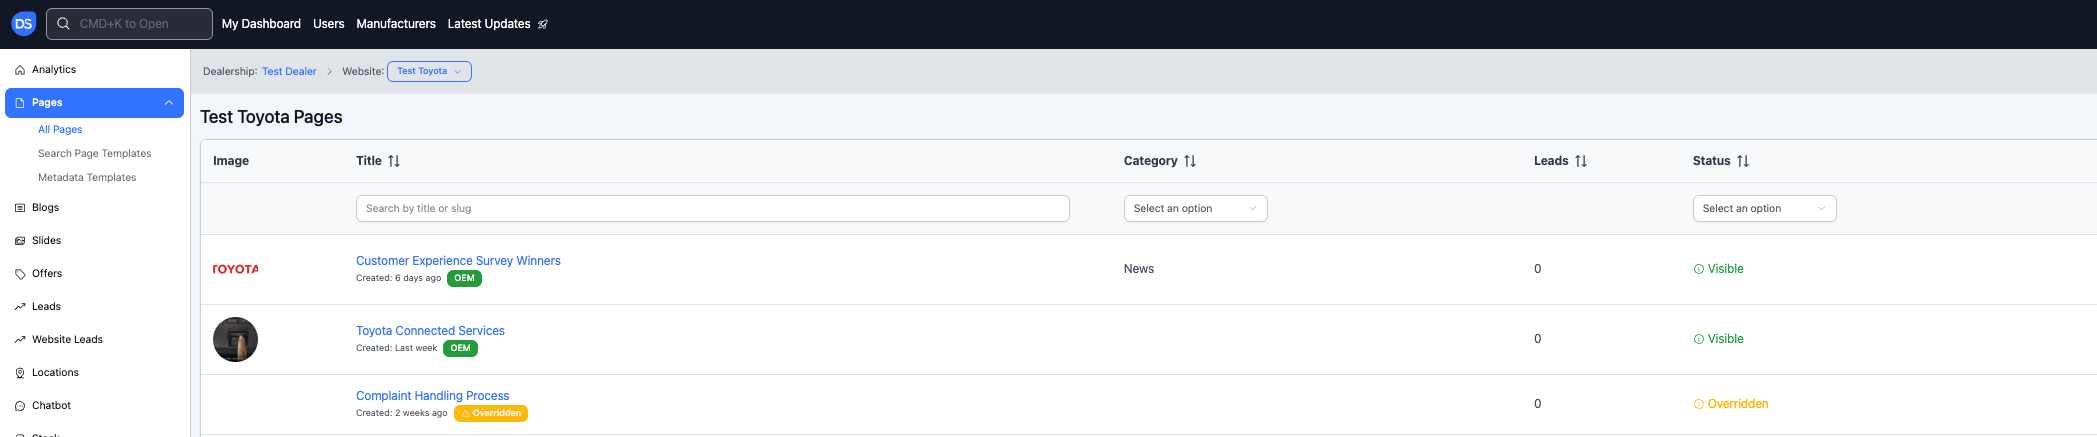
Step 4: Select the Complaint Handling Process page to begin editing.
Instructions on Editing the Page as Required
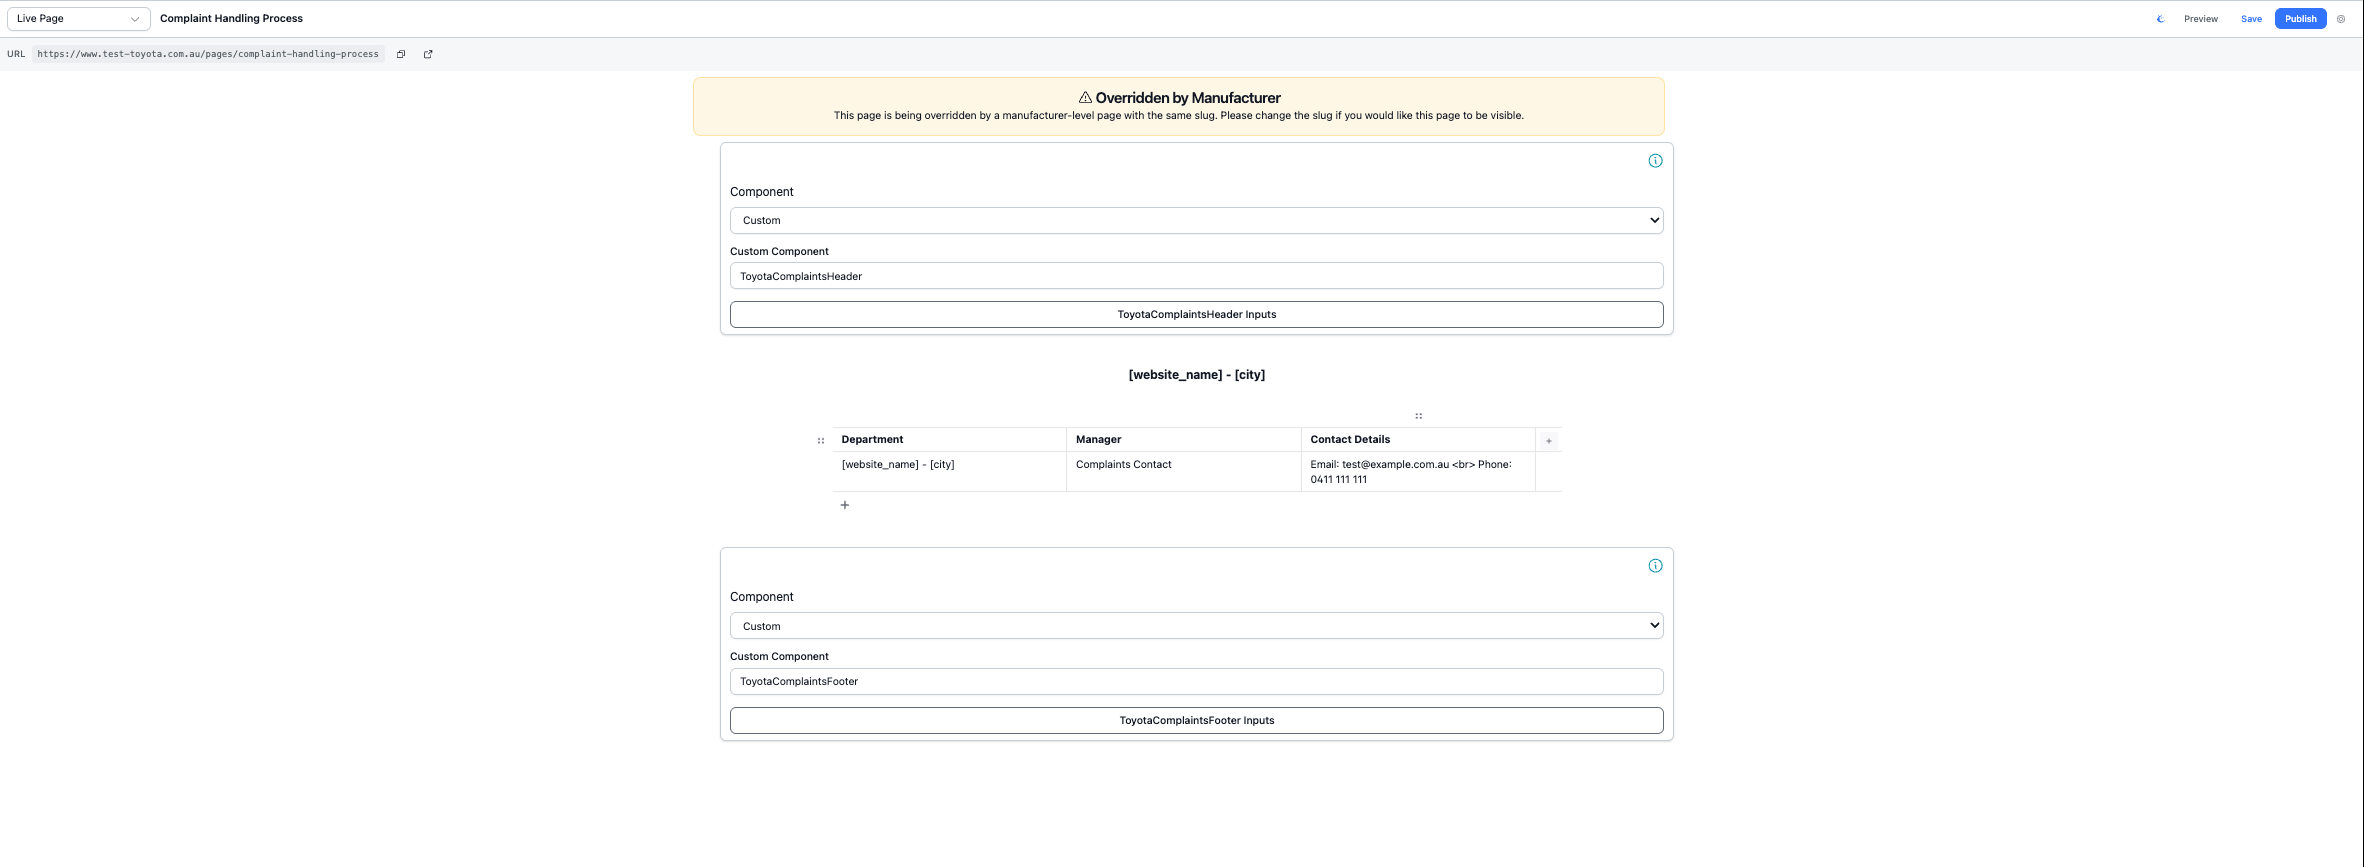
Step 1: Identify the items on the page;
Step 2: These are the only requirements that matter to you;
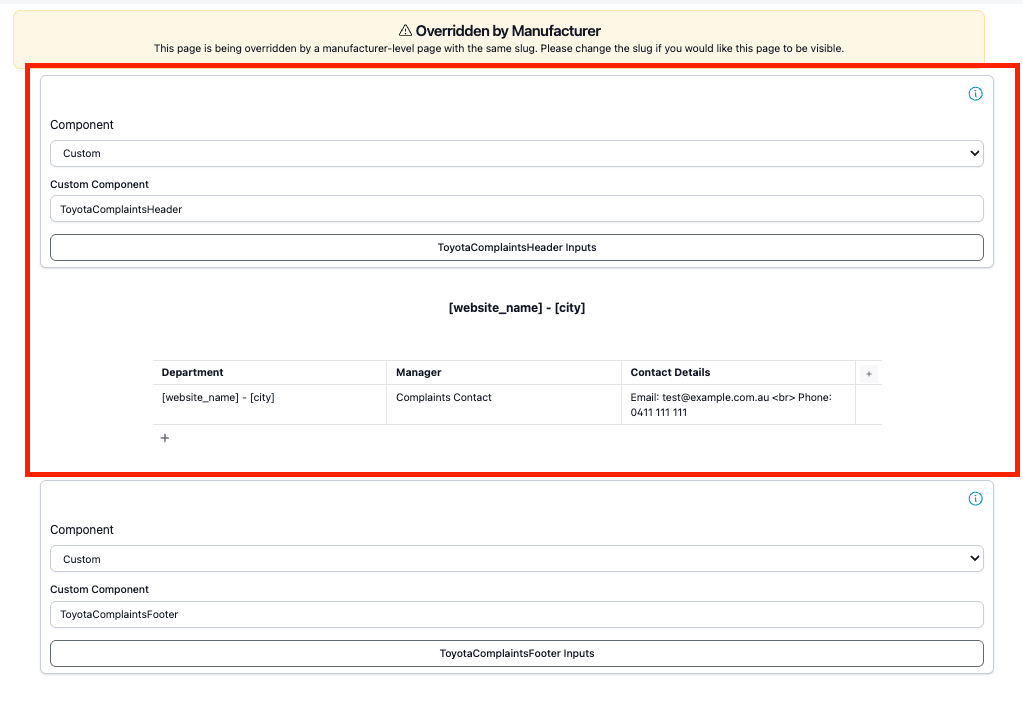
Step 3: Enter in your required contact/s here

Instructions on Changing between Customer Relationship Manager and Department Head
Step 1: Click ON the custom component;
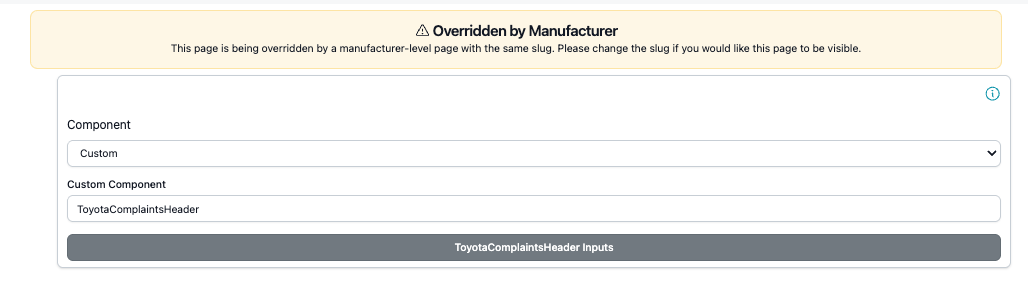
Step 2: This will Open up this view; 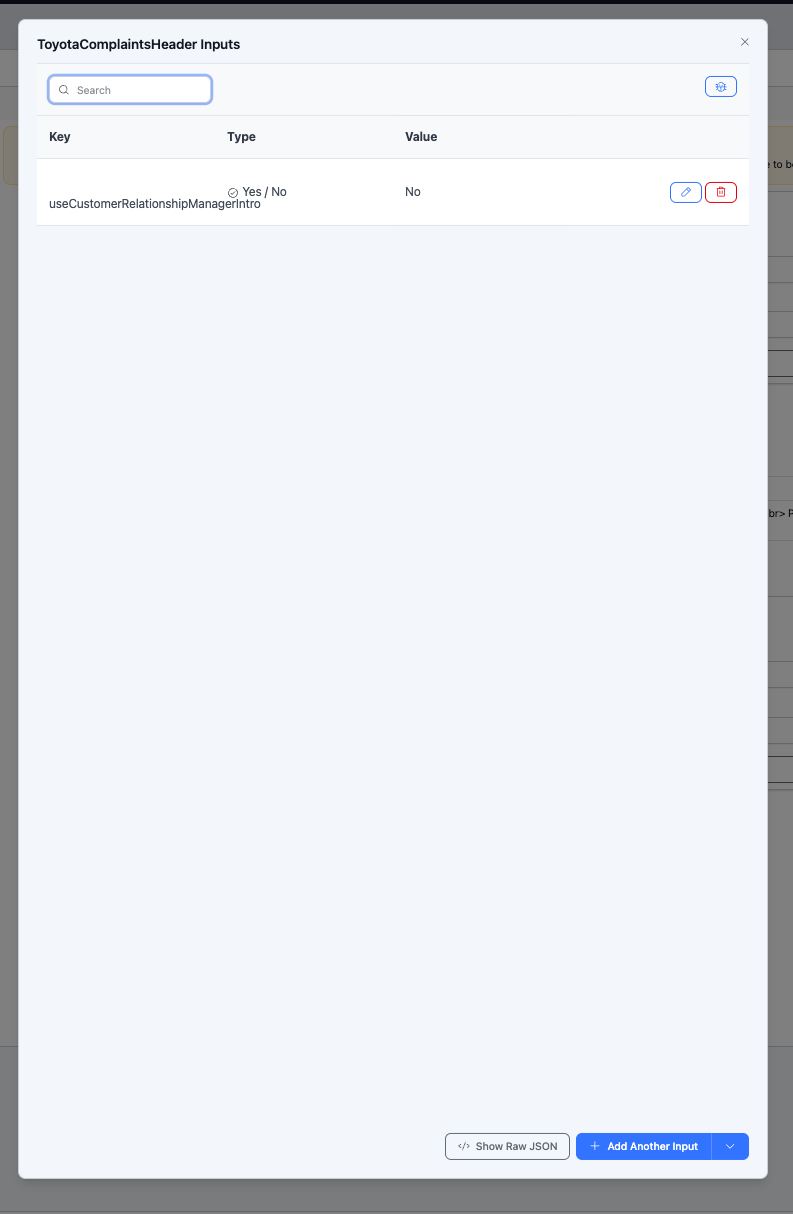
As a part of Toyota Compliance, dealerships need to alter the header text depending on if the contact is the Customer Relationship Manager (CRM) or Department Head (DM)Step 3: Click the Edit (pencil) icon next to the configuration entry.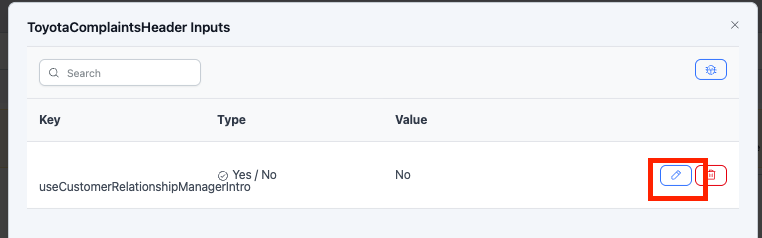
Step 4: Change the Contact Type
Locate the Value field. This is the only field that needs to be changed.
| Value | Result |
|---|---|
| True | Displays Customer Relationship Manager |
| False | Displays Department Head |
Simply toggle the value to the appropriate option. Once saved, the displayed text will update automatically.
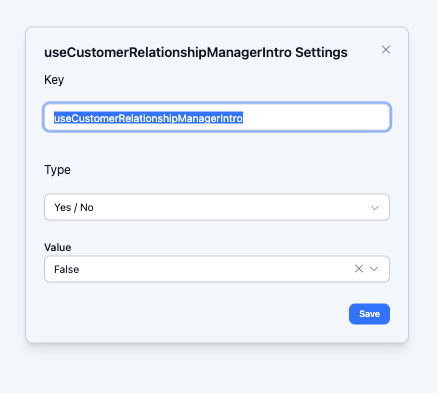
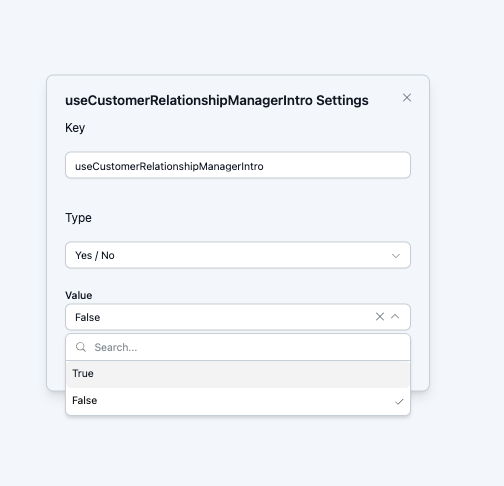
Once altered it should update the Yes/No Value;
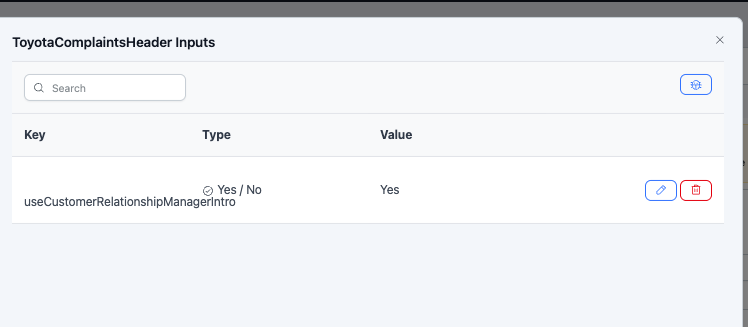
Step 5: After confirming the changes are correct, publish the page to make the updates live.
Video Guide
For a complete walkthrough of this process, please watch the instructional video below.
Was this article helpful?
That’s Great!
Thank you for your feedback
Sorry! We couldn't be helpful
Thank you for your feedback
Feedback sent
We appreciate your effort and will try to fix the article