This article shows users how to add a clickable link to an image within the Pages Editor. It covers selecting the image, setting the URL, and configuring link behavior so visitors are directed to the right page or external site. Perfect for users looking to make images interactive without needing any coding knowledge.
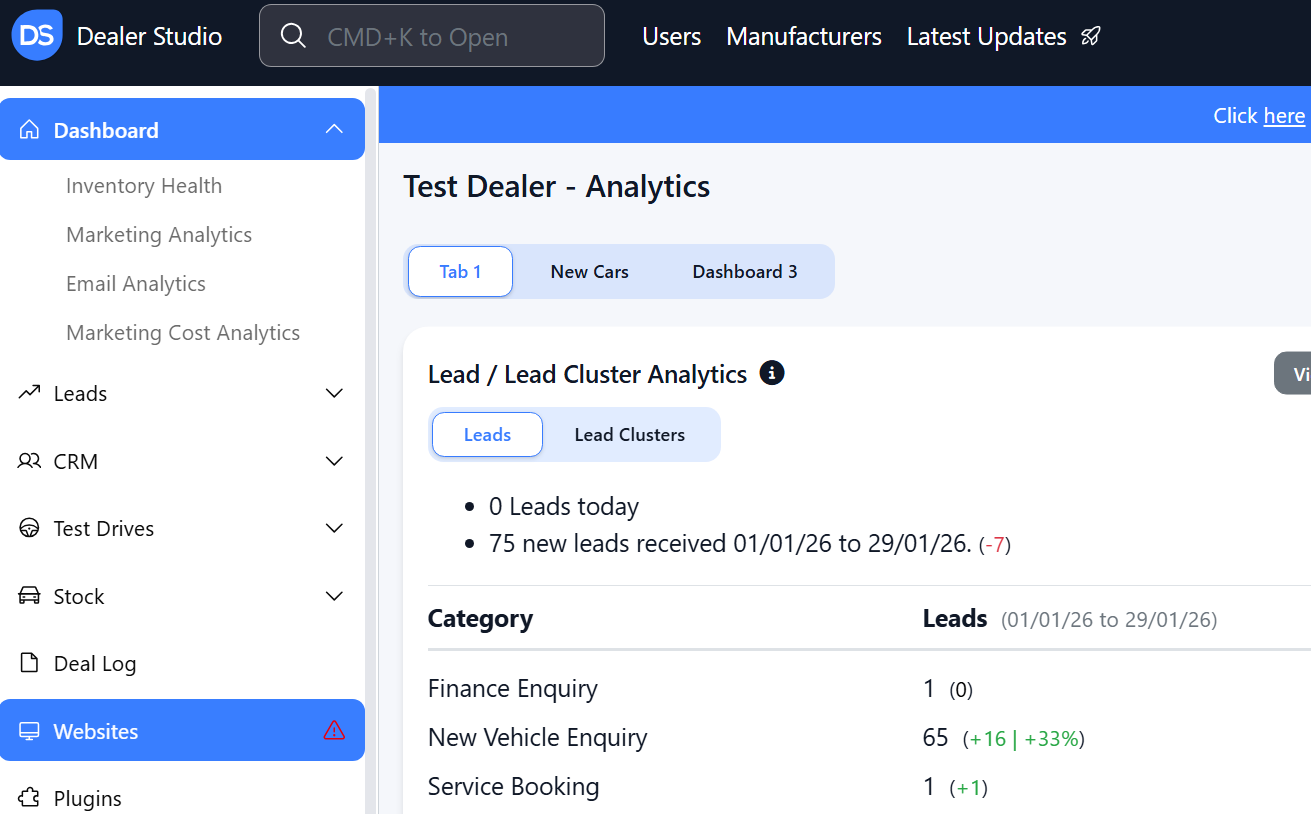
Step 1: On the Dealership Dashboard, select Websites
Step 2: Select the Desired Website to edit
Step 3: Once on the Website Dashboard, select Pages

Step 4: Select the page you want to edit
How to Link an Image in the Pages Editor
1. Hover where you want the image to be until the '+' appears;
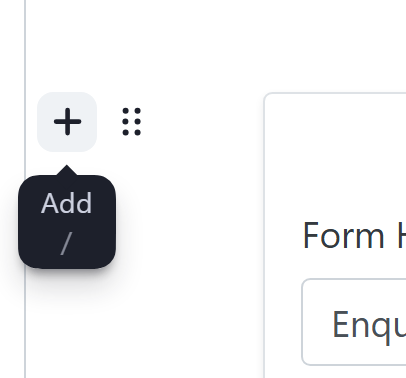
2. Select 'Image'

3. Once your image is added; Click the six dots and click 'With Caption'


4. You then add in the link to the bottom of the image

5. If you want it to look like na Image Banner- stretch it;
6. Then click Publish
Was this article helpful?
That’s Great!
Thank you for your feedback
Sorry! We couldn't be helpful
Thank you for your feedback
Feedback sent
We appreciate your effort and will try to fix the article