This article guides users on how to add new brands or edit existing ones within the Pages Editor. It covers navigating to the brands section, inserting or updating brand details, and ensuring they display correctly on the page. Ideal for users managing multiple brands who want to keep their website content accurate and visually consistent without touching code.
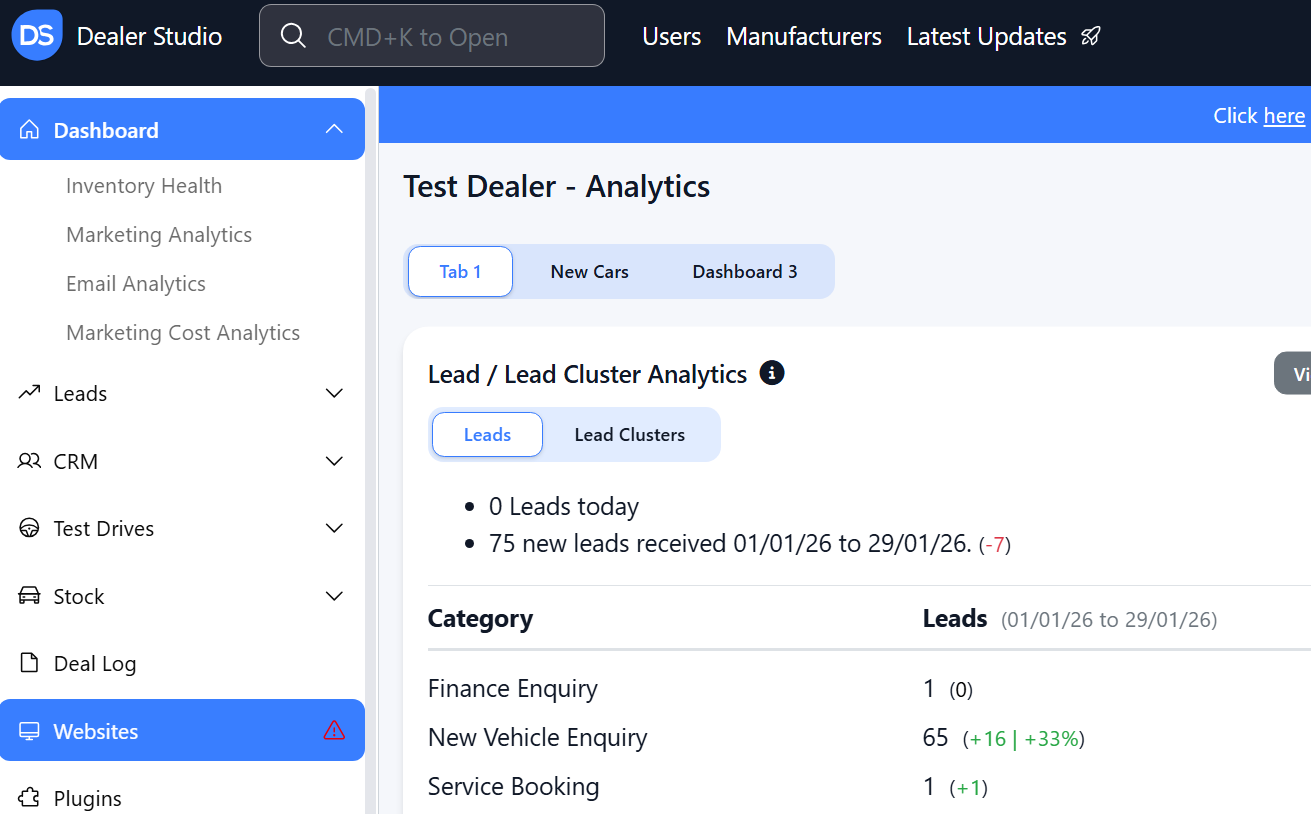
Step 1: On the Dealership Dashboard, select Websites
Step 2: Select the Desired Website to edit
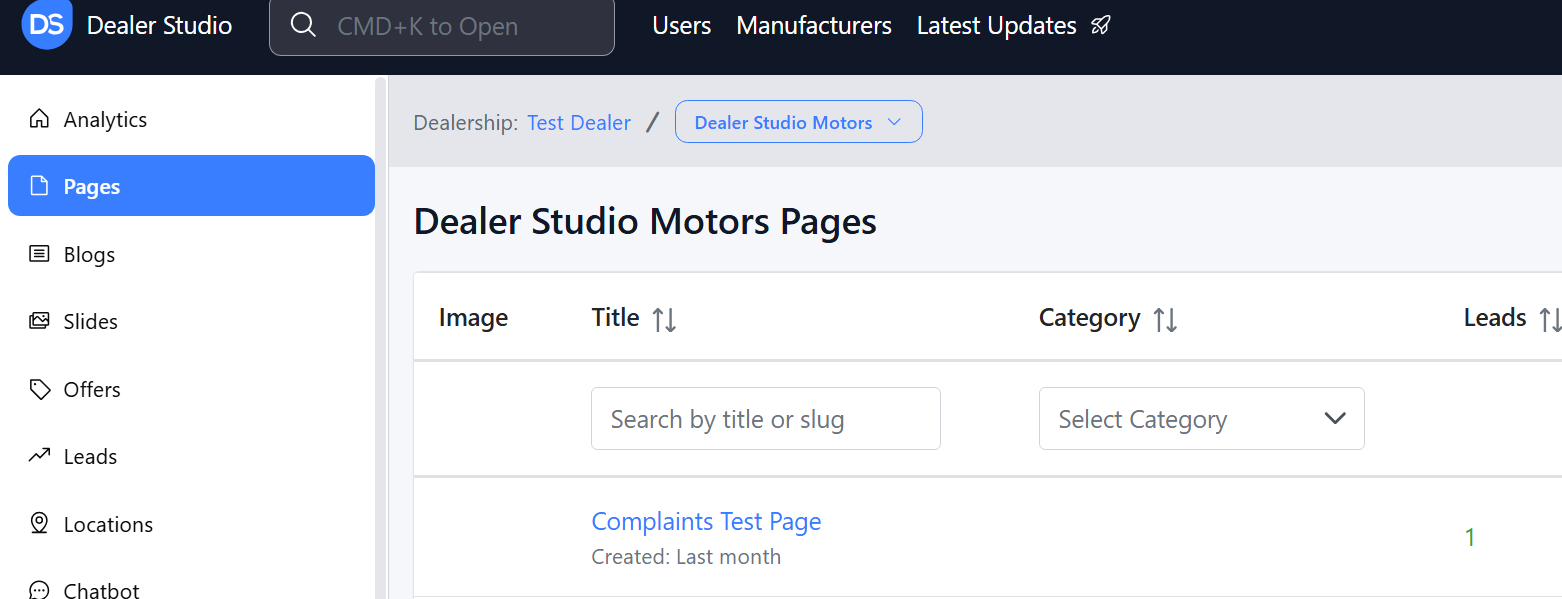
Step 3: Once on the Website Dashboard, select Pages
Step 4: Select the page you want to edit
Adding and Editing Brands on the Pages Editor
1. Once you have navigated to your page, hover and click the '+' on the left

2. Please select Brands;

3. It will then add in each Brand you have under your dealership;

4. If you need to edit, please hover and click the 6 dots > 'Edit Settings';

5. You can Add in a New Brand;

6. You can also change Logos, Name or Links under your corresponding Brands

7. You may publish once done
Was this article helpful?
That’s Great!
Thank you for your feedback
Sorry! We couldn't be helpful
Thank you for your feedback
Feedback sent
We appreciate your effort and will try to fix the article